 I just put together my first drip irrigation system in my raised bed garden and it was a great experience. I recommend it to gardeners out there who are looking to improve their outdoor gardening game, especially if you think your garden could benefit from a more regular and consistent watering pattern.
I had been using a sprinkler to water my garden, but that was creating some mildew and disease problems on some of my vegetable crops. It also wasted a lot of water, so I needed to water in a different way. So drip irrigation became one of my garden goals for 2017.
I purchased my kit from Dripworks, on the recommendation of the Seattle Urban Farm Company. There are some great instructional videos on how to set up the kit on the Dripworks YouTube channel. Kudos for that.
I bought the Dripworks small garden bed kit, which was plenty for my two 4’x8′ raised beds. It cost $59.95.
Drip irrigation sounds like next level stuff for serious gardeners. A little intimidating. But I really don’t want to work so hard starting seeds to only lose them all because I didn’t water properly. So I guess I’m a serious gardener now.
The main components of the kit are a main line, some mini tubing and the emitter drip tube. I now know quite well what these are, but had no idea when I ordered the kit. They said it was everything I needed for raised beds sized like mine, so I went for it.
The Setup Process
The kit arrived with clear instructions and each component was clearly marked. The two things I needed in addition to the kit were a regular garden hose (because my spigot is far from my raised beds) and something to cut the tubing (I used pruners).
Another component that’s required in my garden is a timer, so no matter what, everything gets watered. I have this Orbit hose timer and I love it.
I attached the included filter and pressure adapter from the kit to the spigot, attached the hose and stretched it out to the beds.
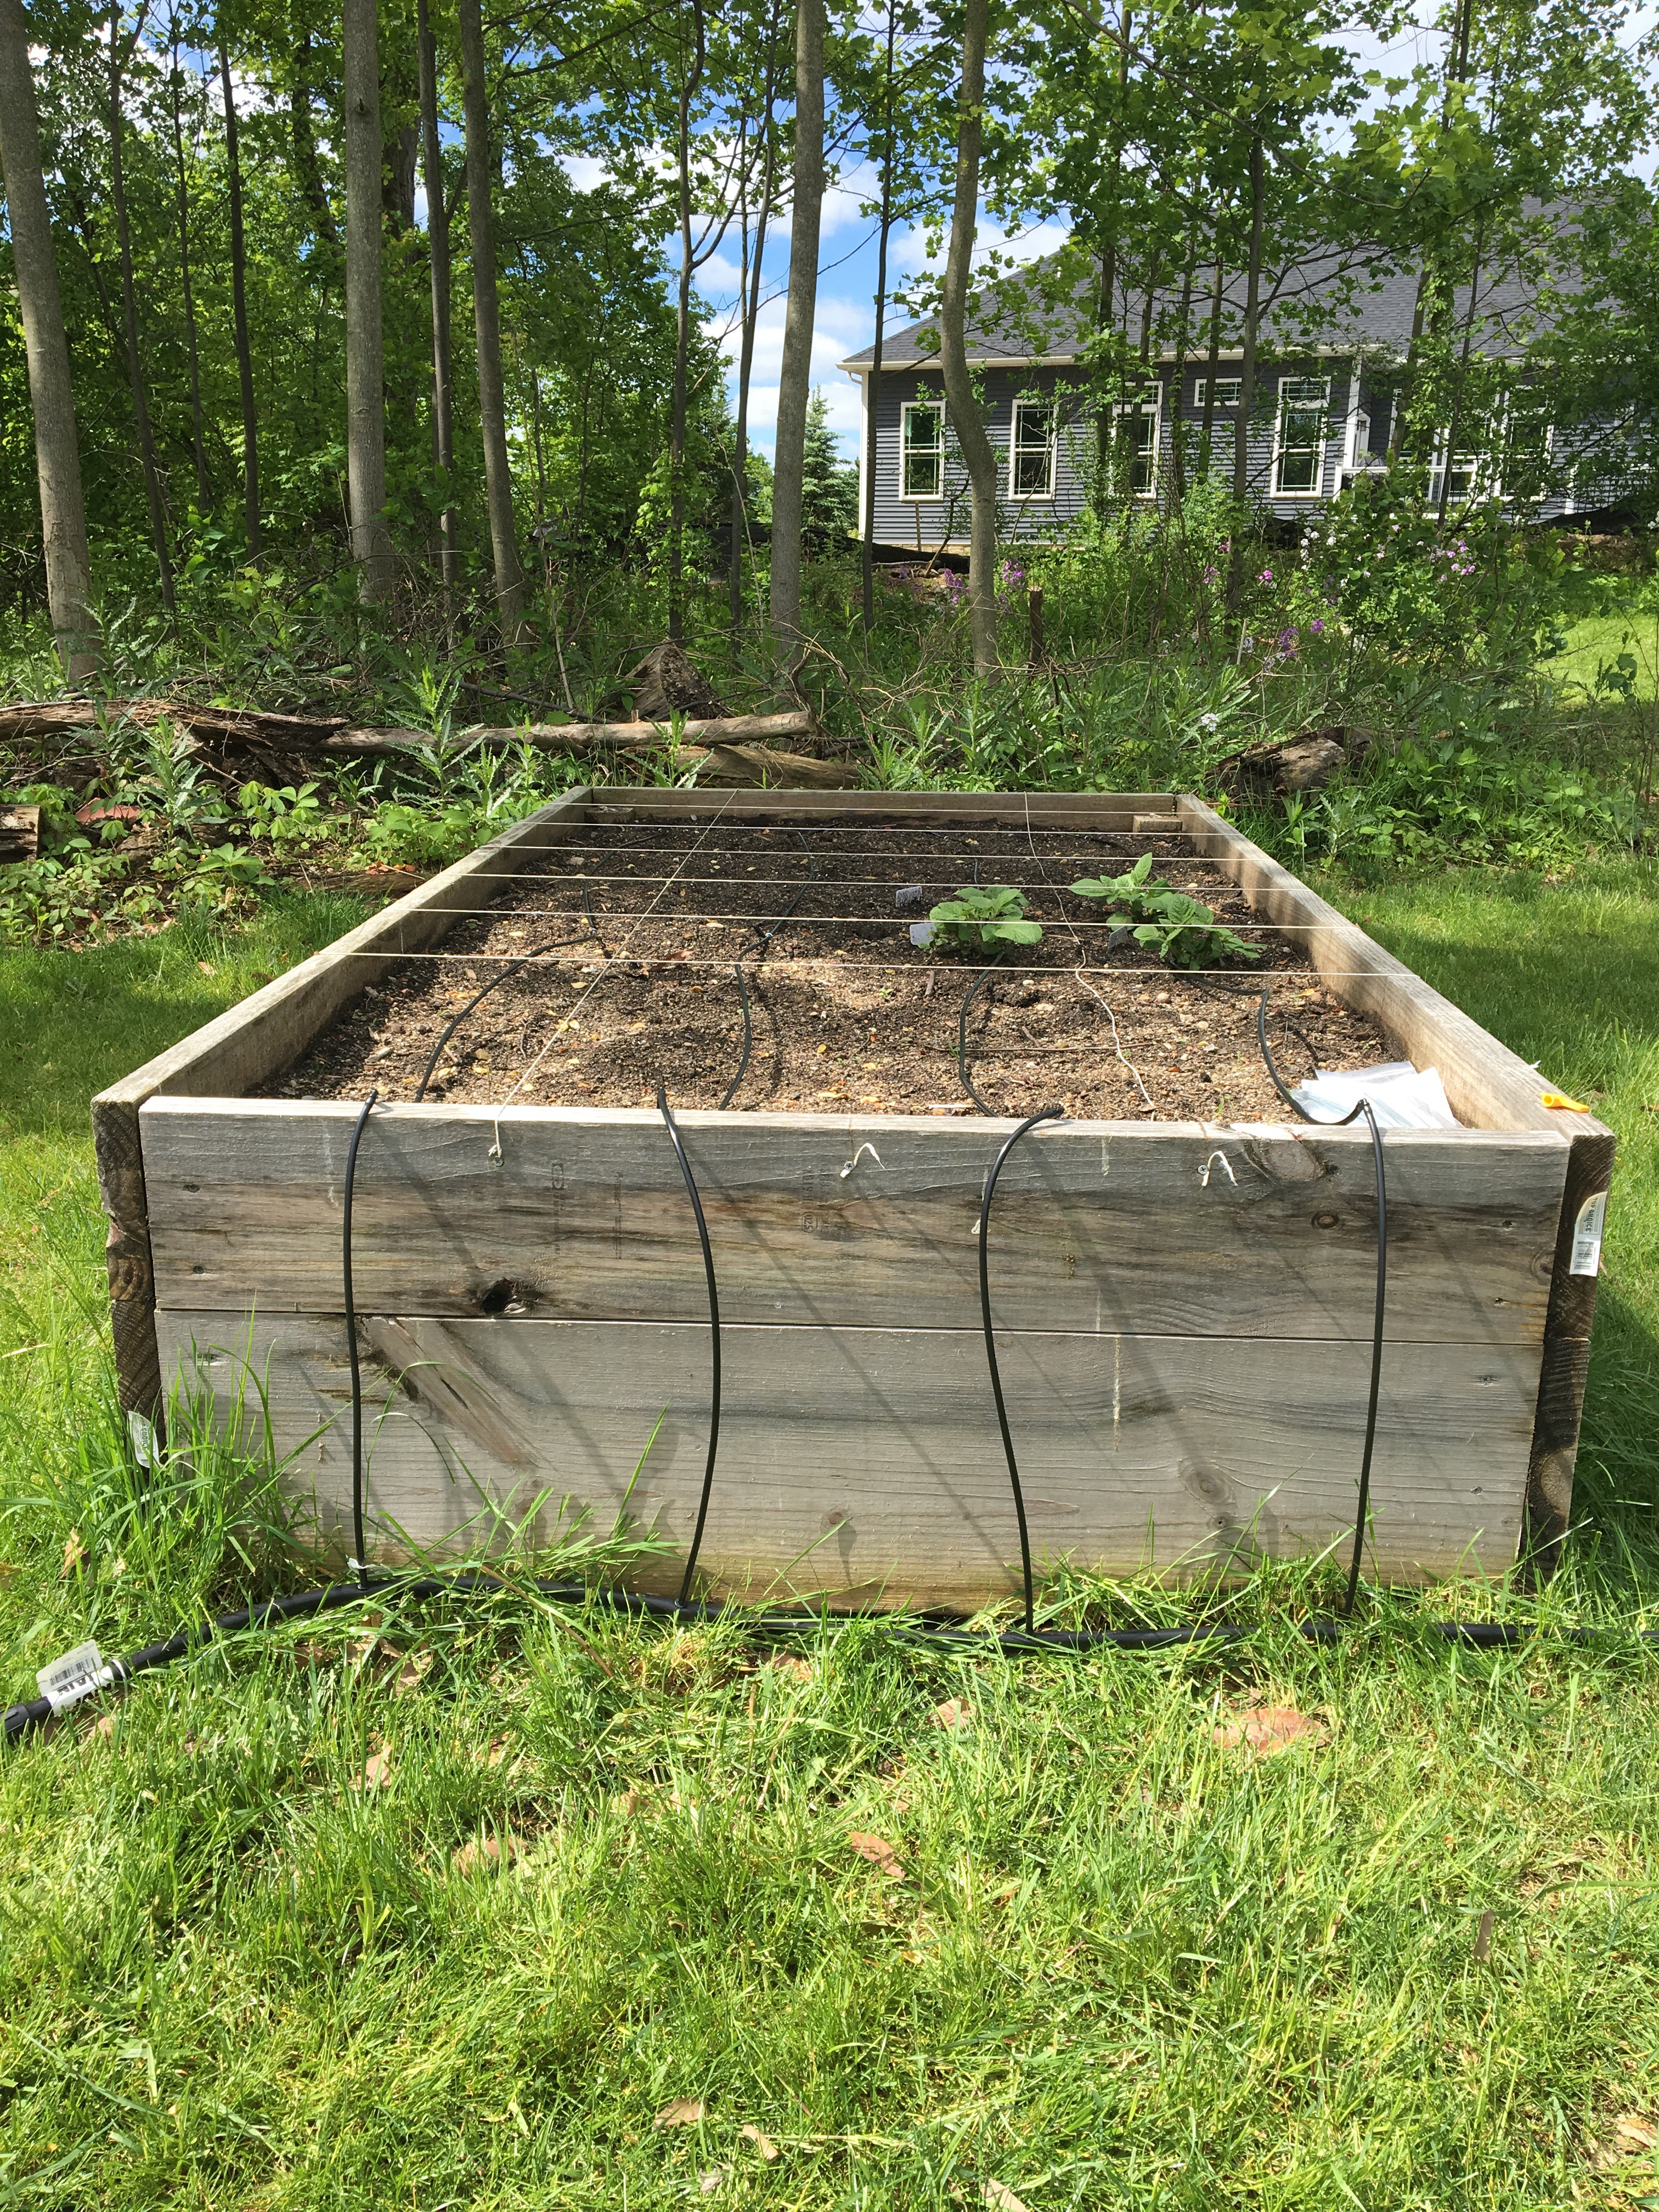
The main line is the water source and runs along the ground at the heads of my two beds. The mini tubing runs from this main line up from the ground to the soil line of each bed, one for each bed row.
You punch holes in the main line wherever you want a drip line in your beds. The kit comes with the tool you need to punch those holes. From there, the mini tubing connects to the drip line.
Soaker Versus Drip
Here’s the difference between a soaker line and these drip lines with emitters. Soaker lines seep water out along their whole lengths. I’ve used them before, but I wasn’t very successful with them. The watering isn’t targeted at all and it felt like you had to keep the water running for a very long time to get a good soak.
The drip line that came with my kit features emitters, basically a hole in the hose, every foot. You plant your plants at the emitters and you’re watering only your target: your plant’s roots.
Of course, this spacing is drop dead perfect for a square foot garden, which I have!
My Only Difficulty: Dainty Hands
The most difficult part of setting up the system was the connectors between the different tubes. Of course, these joints need to be water tight, so the connectors fit very snugly between the tubes. My fingertips were pretty sore from forcing the connections into place.
I turned the water on at the spigot and there wasn’t one drip or leak where there shouldn’t have been and each emitter was working perfectly. Total success!
Now I need to figure out how long to leave the water running every day. Have any thoughts or advice on this? Let me know in the comments or on Twitter @howtonaturechat.
Leave a Reply